Enter the Caravan World Readers’ Rig of the Year competition now
Massive prize up for grabs! Enter the Caravan World Readers’ Rig of the Year competition now

Showcasing the best in Campers
Massive prize up for grabs! Enter the Caravan World Readers’ Rig of the Year competition now
The Government of South Australia has implemented new vehicle restrictions at Wauraltee Beach on Yorke Peninsula to protect the coastal environment...

New data reveals Aussie drivers prioritise towing and offroad ability in EVs, with Ford’s Plug-in hybrid Ranger PHEV set to deliver both.

With more than 250,000 Isuzu D-Max utes and over 100,000 MU-X SUVs currently on Australian roads, it’s no wonder Isuzu UTE (Australia) recently cel...

While maintaining the tough offroad capabilities for which it is renowned, the new generation IVECO Daily 4x4 offers increased comfort and cabin ap...

In the world of copycat campers from China, the Australian-made, double-sided fold-out Kerfton stands out from the crowd. Founder and Managing Dire...
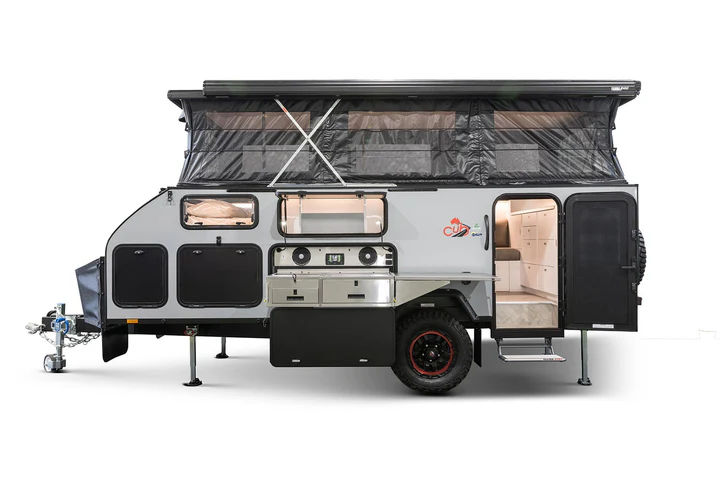
With a 50-year history of building some of the toughest camper trailers in the land, Cub Campers has released its new F14 — a fusion of caravan and...

A traditional pop-top imported hybrid, the Swag Off-Road Campers Gen 6 SCT16 has plenty of features that will appeal to buyers who like their creat...

Towing any trailer requires some driving skills, but when you hit the rough stuff in a 4WD with a camper trailer behind, it’s a whole new ball game...

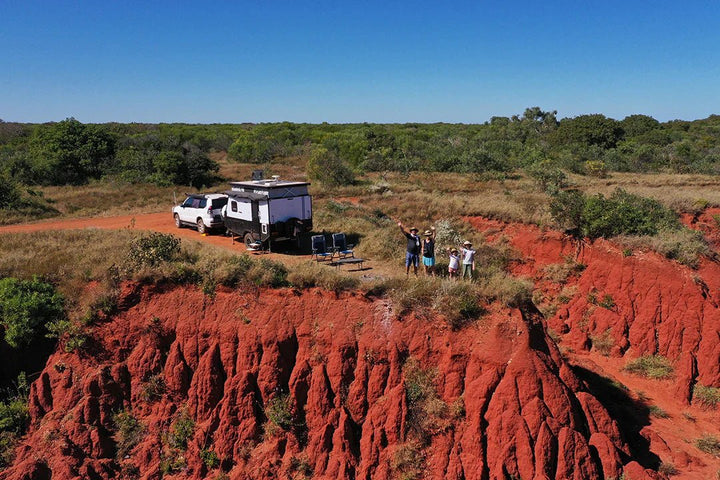
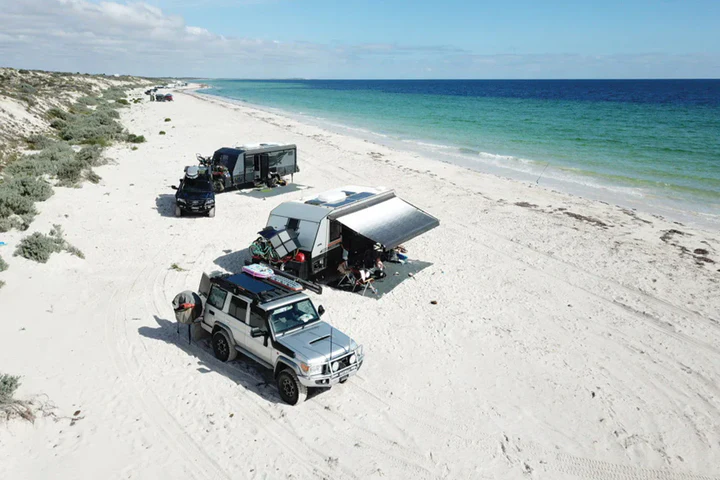
In a first for Camper Trailer of the Year, we took the entrants on a tour to really get to know what it’s like to live with the camper trailers. Ov...

When the going gets tough on Australia’s roughest outback roads, you’ll want the confidence of Tough Dog 4WD Suspension on your tow vehicle and tra...

Industry leader REDARC Electronics has spent decades designing, researching and real-world testing its power products and systems so that Aussie tr...

The 2026 National 4X4 Outdoors Show kicks off in Brisbane this Friday, showcasing the latest offroad camper trailers, hybrids, caravans, 4WDs and t...
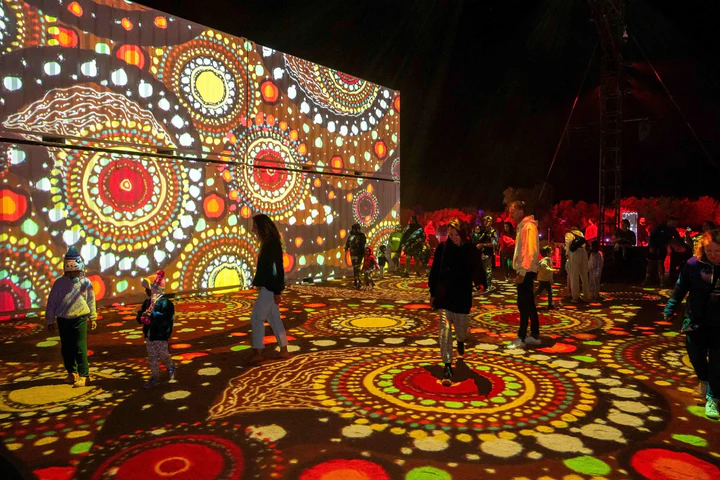
Aboriginal communities are the heartbeat of the Northern Territory’s vibrant arts and culture scene. Coupled with a diverse, multicultural populati...

If you love exploring regional New South Wales, country music and a festival atmosphere, then we’ve found the perfect event for your summer road tr...