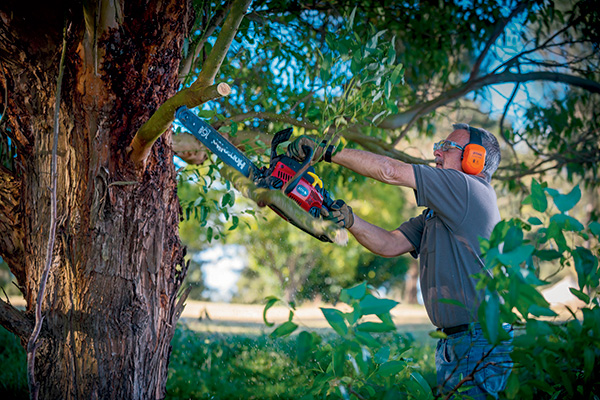
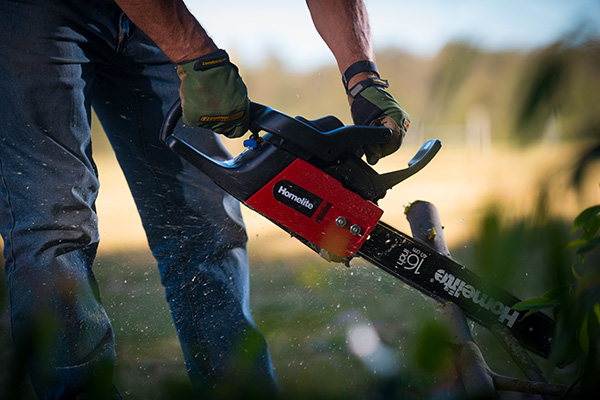
Chainsaws, like any piece of mechanical equipment, require maintenance and TLC, especially if you want them to continue to perform at their best. Not only is it a matter of convenience, it can be a matter of safety. A blunt or poorly adjusted chainsaw will not cut well, forcing you to add leverage or force, potentially resulting in a dangerous situation.
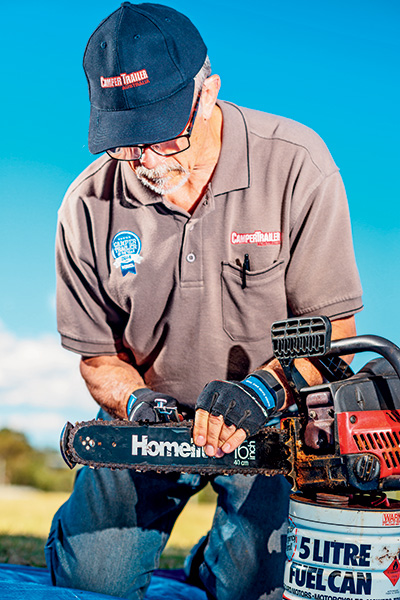
There are 10 areas where chainsaws will need regular maintenance. These should all be within even a novice’s capabilities, with a little common sense, and if attended to will keep your chainsaw running like new.
1. CHAIN
If the chain chatters, produces sawdust rather than small chips, makes curved cuts or simply fails to cut, then it needs sharpening.


Remove the chain (generally done by loosening or removing the bolts at the base of the bar, removing the bar or backing off the tension on the bar and removing the chain from the drive sprocket/s. Inspect it for damage to the tie straps (the joiners between the pins), rivets and drive links.
If you are happy that it’s still serviceable, either remount it to the bar (rotate it over so that it goes back on with what was the bottom groove now on the top to ensure even wear) or, if you feel it’s been a while since its last touch of TLC, place the chain in a bath of solvent to soften tar and dirt and give it a scrub with an old toothbrush. Dry and place it in a shallow bath of clean 10-weight motor oil for 12 hours.
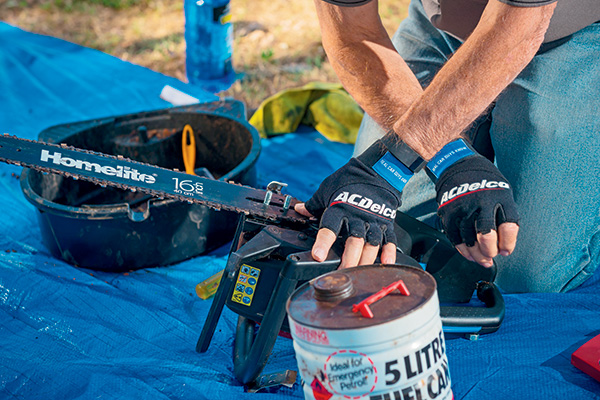
Reinstall the chain on the cleaned bar and commence sharpening. Use a round chainsaw file suitable to your chain size, or a specialist chainsaw tool for use with a Dremel or similar small drill.
Remount the chain, with the cutting teeth pointing forward on the top, adjusting the tension on the bar with the tensioner screw so that the chain is snug but still able to be turned over comfortably by a gloved hand. You don’t want any slack hanging under the bar. Tighten the rear bar nut first while pulling up on the front of the bar, and recheck the tension before tightening the front nut.
2. GUIDE-BAR GROOVE
While the chain is soaking in oil, clean the channel that guides the chain along the bar, as it can become clogged with sawdust and dirt. Remove the bar and clean the groove with a folded piece of cardboard (an old business card is good) or a small flat blade screwdriver for any hard to remove pieces. File any nicks flat, filing perpendicularly to the bar’s flanks.
3. OIL-PORTS
The two oil inlet ports at the rear of the bar can also become clogged. Clean them out before remounting.
4. DRIVE AND BAR SPROCKETS
There are one or two sprockets that will need attention. The drive sprocket on the centrifugal clutch at the base of the bar will wear out, but usually not before you’ve been through several chains. Check its teeth for damage or uneven wear and replace if necessary. You can lubricate it if desired but don’t overdo it as you don’t need excess oil making its way into the clutch.
If your chainsaw has a nose sprocket, clean it, inspect for wear and give it some lubrication as well.
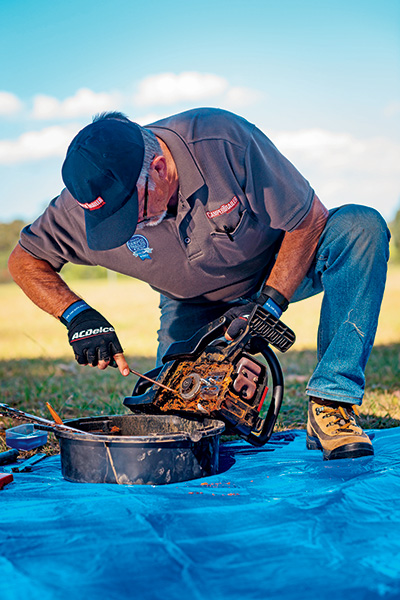
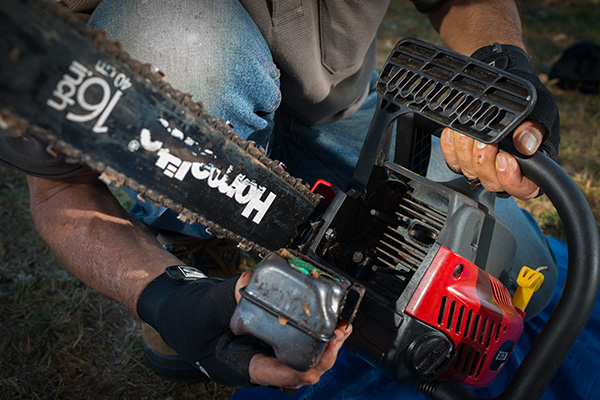
5. COOLING FANS
As an air-cooled device, the engine of your chainsaw depends on the free flow of air across the cooling fins. The dirty environment in which the saw works can soon lead to a build-up of dirt, sawdust and grime that prevents the engine from running at its optimum temperature, leading to poor performance.
Remove the external coverings from around the engine and drive case and use an old rag, narrow wooden blade, stiff brush and, if necessary, some solvent (kerosene is ideal – don’t use petrol) to clean any build-up. Keep the choke closed to prevent dirt from getting into the engine if you’ve removed the air filter. Clean the air inlet or exhaust screens while you’re at it.
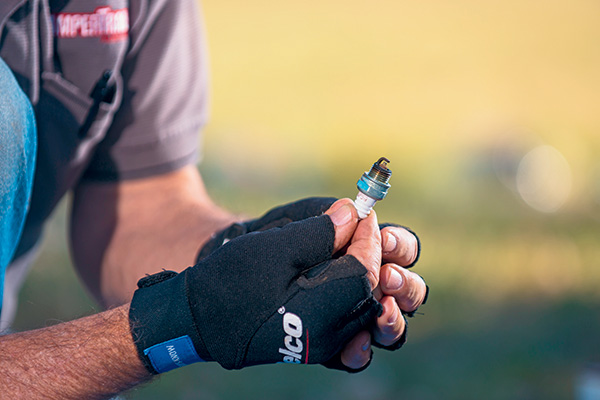
6. SPARK PLUG
With its fuel mix of petrol and oil, a two-stroke engine can easily develop a fouled spark plug (a build-up of black sooty carbon on the electrodes of the plug). Use a plug socket to remove the plug and use a wire brush to clean it, and then your feeler or wire gauges to set the gap between the electrodes (usually 0.020 to 0.025in), gently tapping on the outer electrode to close the gap or levering it open with a flat bladed screwdriver to widen the gap. Any build-up of large lumpy material or electrodes that are lighter in colour than a dark grey to light brown indicates a fuel/air mix problem best dealt with by a service shop.
Replace the plug with the socket, avoiding overtightening. If you fit a new plug, make sure it’s of the recommended type. Some newer engines have a maintenance free, breakerless electronic ignition, but for any work on a set of ignition points it would be best to have a service technician handle it.
7. EXHAUST
The muffler, exhaust port and spark screen can in time become clogged with exhaust residue. To clean these, remove the screen and muffler (you may find locking clips on the fasteners which will have to be bent back first) and clean them with a brush and solvent.
To clean the exhaust port, bring the piston to top dead centre by removing the spark plug to eliminate compression by pulling on the starter cord until the piston is at the top of its stroke and then scrape away any build-up with solvent and a wooden (not metal) stick. Reassemble, taking care to reuse locking clips where necessary.
8. FUEL FILTER
There will be a filter in the fuel tank, on the end of a fuel line. Extract it using a piece of bent wire and either clean it with solvent or replace it. Check the fuel cap gasket and the air vent and drain and dispose of any fuel older than a couple of months. Replace it with a properly blended mix to your manufacturer’s specs.
9. AIR FILTER
Remove the air filter and clean it. While you’re at it, clean the outside of the carburettor (with the choke closed) and visually check that the throttle and choke systems work by operating them. If the filter is still in good order, bang it against a clean hard surface to knock out as much dirt as possible, or lightly brush it over. If it appears beyond reuse, replace it with a new filter.
10. STARTER
Pull the starter rope out to its full extension and check for wear, and then check the recoil by allowing the rope to draw back in. If the cord is damaged or any binding occurs during rewind, remove the starter housing. Clean out any accumulated dirt and lubricate the recoil spring with light oil. Replace the rope if necessary but be careful not to unleash the wound spring beneath the pulley. Wear eye protection and unleash the spring slowly by unwrapping the cord.
To check out the full feature and learn more about chainsaw maintenance, head to Without a Hitch.