If you own a camper trailer then you will almost certainly be familiar with canvas – and even if you only use it for an awning, the shelter it provides is integral to your camping life. Yet, for something so important, many travellers understand very little about it, especially when it comes to taking care of it or even knowing what to look to out for when choosing a tent.
Canvas is an extremely durable plain woven fabric that’s usually made from cotton or linen. It differs from other heavy cotton fabrics, such as denim, which usually has a twill weave. Canvas is graded by its weight per unit of square area, most commonly expressed, even in this metric age, as ounces per square yard.
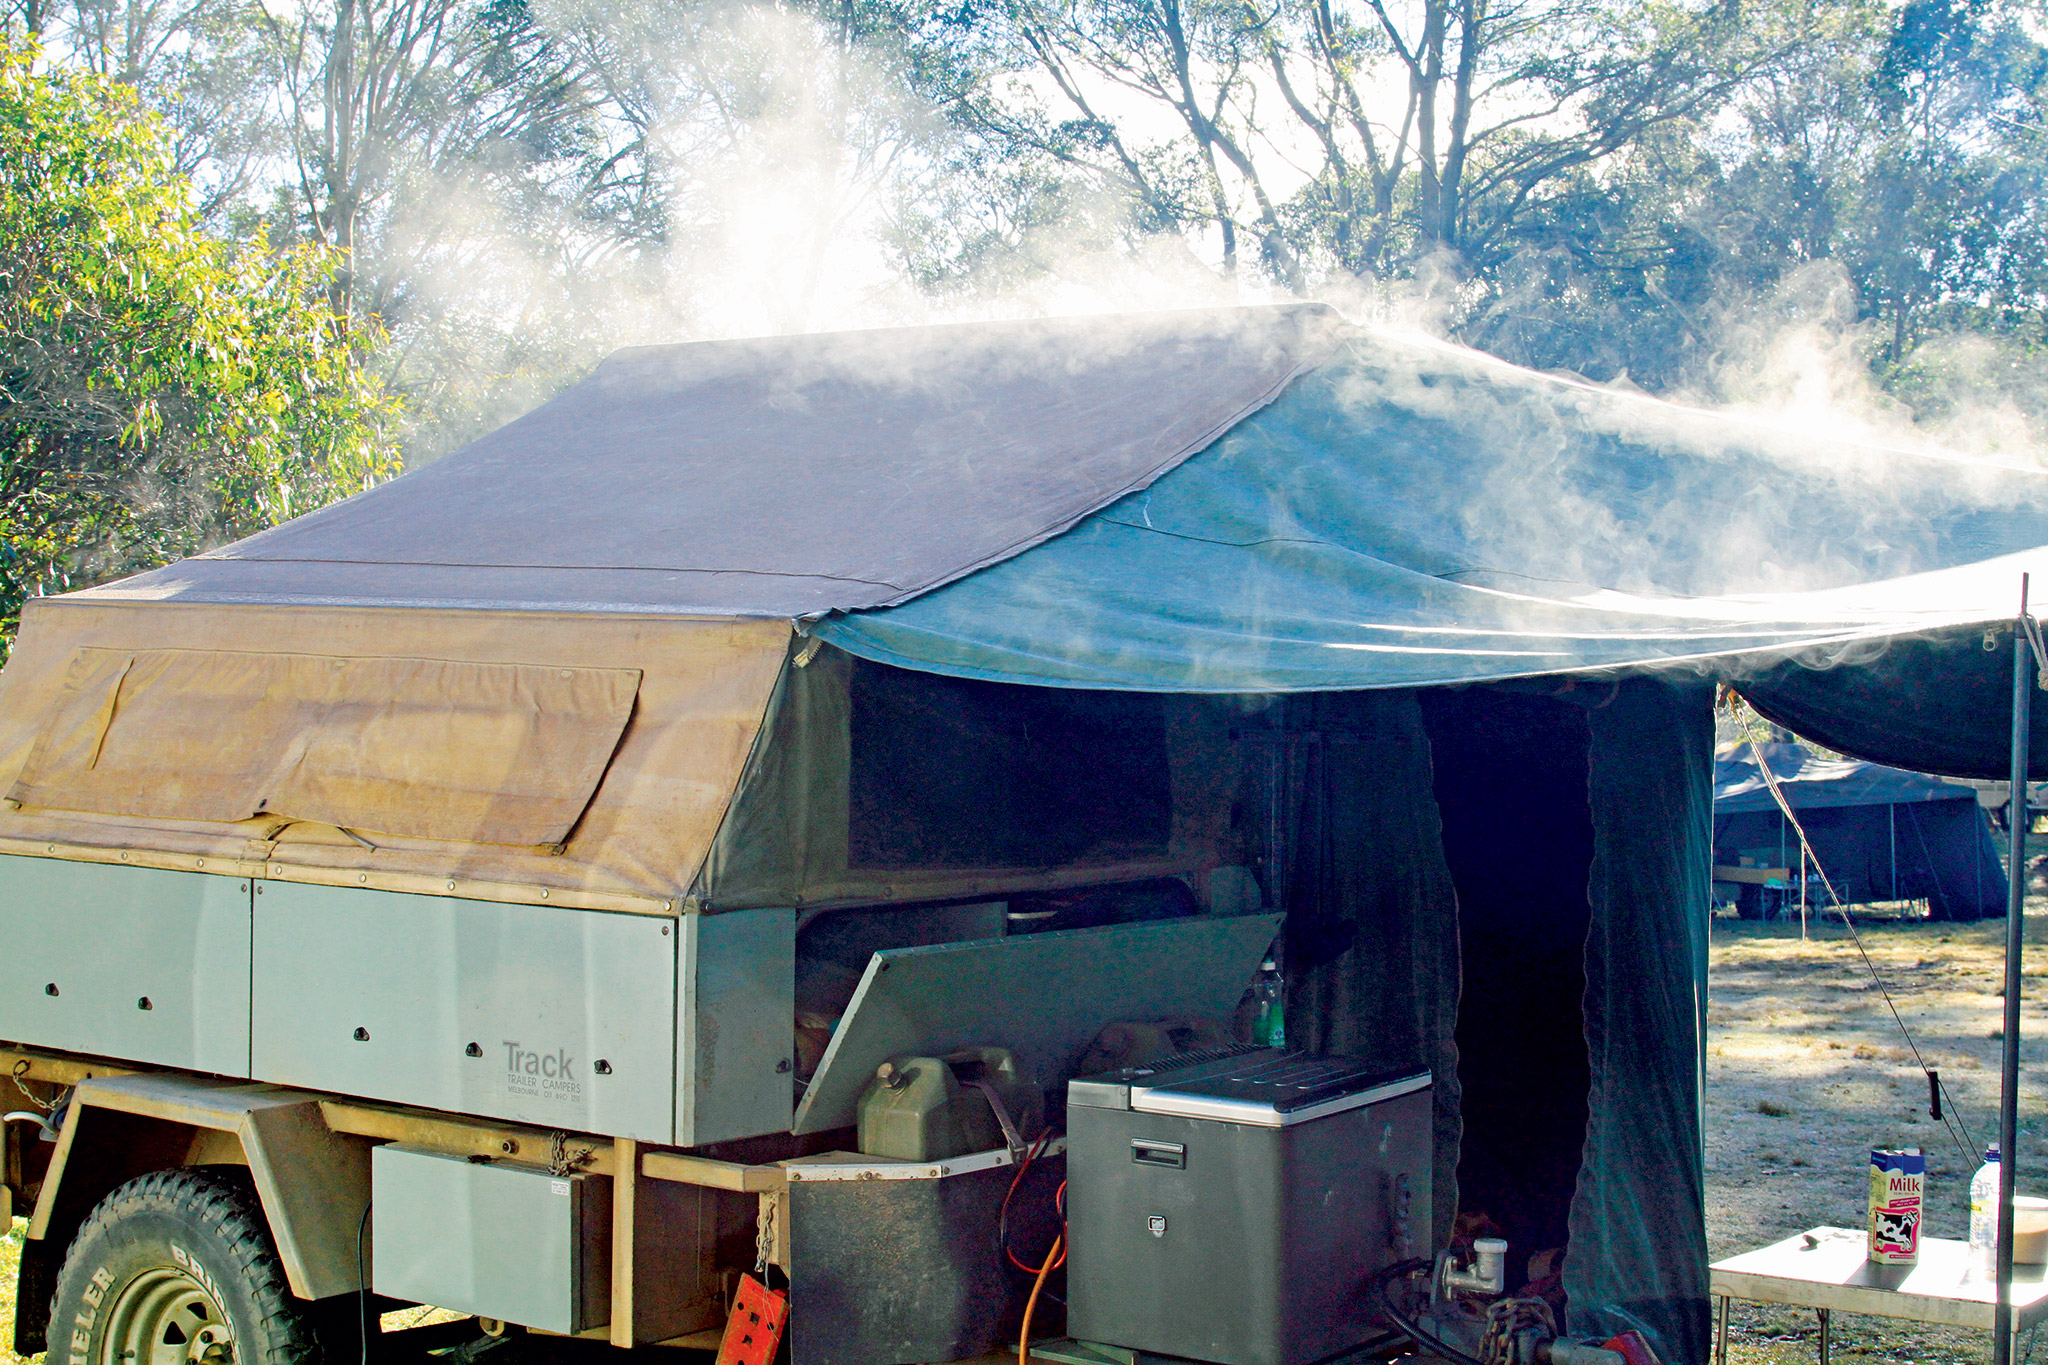
Sewing a tent is a real art. You can expect a good one that’s well looked after to last 20 years. Our local manufacturers produce some of the finest canvas products in the world and its use on camper trailers is based on the material’s strength, durability and, when treated, weatherproof qualities. As a result, it’s highly prized, attracting $25 per square metre, compared to imported canvas retailing between $8-$10 per metre.


Of course, not all camper trailer tents sold locally are made in Australia or from Australian canvas. In the past, some of those imports struggled on application and in our local conditions; thankfully, it appears as though manufacturing standards have improved, especially on higher priced models. That said, it’s still imperative to know what to look out for.
CHOOSING A TENT
Tim Deegan, manager of Bell Canvas, said there are many ways to help identify a good quality canvas tent.
The first test is to feel the canvas which, when new, tends to feel thicker and stiffer.
“A canvas that is soft and pliable from the start is going to be too light to have any durability over time, and is likely to leak under any pooling on the surface,” Deegan explained.
He suggested choosing one with spur-tooth eyelets that resist spinning, with no splits, and with a good width rollover of the flange that’s evenly spaced around the centre.
Zips should be sturdy with large teeth, especially for heavier jobs, such as where side awnings attach to a tent and they should be double stitched.
Deegan recommends Number 10 zips as a minimum for all windows and doors.
“All zips should be covered by a canvas flap where possible, and there should be a weather flap over windows and doors to assist in water dripping off and not getting down on to the teeth of the zip, which will not be weatherproof,” Deegan said.
Woven material, such as canvas, has both warp and weft. Warp is the thread which runs along the roll, and weft (or woof) runs across the roll. When used in a camper trailer tent, the warp should run vertically in the walls for optimal waterproofing, and all seams in the walls should, where possible, be vertical. Rolls of canvas come in a standard width of 2.05m, so seams should run across a roof.
All stitching should be done with a high quality UV-resistant poly-cotton thread, with the polyester for strength and the cotton to seal the holes. Tents sewn with the wrong kind of thread can tear at the seam. This is tricky one for the naked eye to spot, so do your research and, if in doubt, ask.
Canvas weight in camper trailer tents has traditionally been 15oz (509gsm) for roofs and 10 or 12oz (339-407gsm) for walls but, more recently, there’s been shift to lighter weights, such as 10oz for roofs and 8oz (271gsm) for the walls. This has been partly in an attempt to reduce costs but also to reduce weight and create easier handling when setting up and packing up the camper.
Deegan recommends a high quality PVC with a minimum weight of 650gsm for the floor. Zip-in floors can be repaired or removed if dirty but be aware that the zips can break and sliders do wear. hook and loop-in floors are awkward to attach, especially if you want a neat job, and the hook and loop will rapidly fill up with sticks and dirt. It’s better that tabs for the pegs are welded to the floor rather than sewn, as stitching will rot in damp conditions and can potentially leak. A well-designed floor should run about 120mm up the wall.
It’s also important to try installing the tent yourself prior to purchasing it. “It’s all well and good to go to a show and see the campers looking all neat and tidy,” Deegan said. “They’ve all been put up by professionals. Ask to go to the factory or showroom and ask to put one up yourself. It’s the best way to find out whether this camper is right for you.”
Locally-made tents sewn with high quality thread and Australian canvas are proven in our environment. The canvas is dipped in waterproofing solution for long-term durability, rather than applied with a coat. An increasing number of Australia manufacturers, however, are sending their tents to be sewn overseas in an effort to remain competitive. Imported tents were once easily identified by the use of rip-stop canvas but in recent times there’s been a real move towards the use of plain weave canvas.
If you want an Australian-made tent, Deegan says you should look for one which has a double fold of the canvas rather than binding tape at the edge. Binding tape is not as UV-resistant as canvas, and in the long-term is more susceptible to rotting.
He also says that the use of twin needle sewing machines is another tell, which give absolutely parallel rows of stitches.
“Australian manufacturers will use a combination of single and twin needle machines in the local production of their tents. Twin needle applications are used in the joining of canvas to create the main body or roof section of the tent,” he explained. “Imported manufacturers will use twin needles in about 90 per cent of the sewing on a camper trailer tent, which is easily spotted around the windows.”
PRE-TRIP PLANNING
Once you’ve purchased your camper, it’s important to season your tent to optimise its waterproofing capabilities before embarking on your first trip away.
Seasoning your tent will allow the thread to expand to fit the needle holes to create a watertight seal. Sit it outside on a sunny day and give the canvas a good, thorough hosing, making sure you saturate all seams, then leave it to dry in the sun. Do this three to four times. Don’t worry if you get a few drops of water inside on the first few times as it takes time for the thread to expand.
SETTING UP
There are a few things which you can do to ensure your tent lives as long as possible.
“When setting up, make sure the zips on the windows and doors are done up before tensioning ropes or peg points so that you do not overload zips afterwards,” Deegan said.
Once you’ve set up, if you want to open a window or door, make sure you unzip it all the way to the end rather than push your way through the gap, as this will stress the zip and result in its early failure.
Never open a zip by pulling on the two sides of the zip, always use the slider, and never pull two pieces of canvas together by forcefully pulling the slider along. This will also result in early zip failure.
PACKING UP
“When packing up, avoid leaving canvas jammed between the hoops and bars of the tent as this can create wear points,” Deegan said. “Avoid pushing on mesh while folding and try to avoid sharp folds in the mesh as this can result in tears in the mesh.”
A travel cover, as used on all softfloor campers, is usually made from the same weight material as the camper floor. It needs to be UV-resistant, mould and mildew-resistant and have a hook and loop seal around the outside edge to keep out dust.
A new tent will be a little slack in some areas, as you can expect around 3 per cent shrinkage in the first three to four wetting cycles. After that, it will settle down.
MAINTENANCE
Always ensure your canvas is dry before storing it away. Damp canvas is a prime home for mould or mildew, which will break it down. If you do get this, allow the canvas to dry fully then brush the mould spots with a soft bristle brush, before applying a mix of one part liquid household bleach and four parts water. Do not use harsh pool chlorines and never scrub your canvas harshly or it will damage the waterproofing. Brush or sponge this on gently and allow to dry, brush it gently again with a soft brush and wash over with clean water, and again allow it to dry. After this, it may require an application of a waterproofing agent.
If you’re away and it’s raining when you pack up, open up your camper and allow it to dry as soon as possible, before packing it up again. A day or two won’t hurt, but do not leave it for several weeks or more.
Keep your canvas clean by removing bird droppings, earth, sand or vegetable matter as soon as you can. These can stain or, in the case of bird droppings, damage the canvas. Brush such areas gently with a soft brush (such as an old toothbrush) and hose over with clean water and allow to dry. Bird droppings should be treated as soon as possible because of their acidity.
You may have to learn to live with some dirt around the edges if you’re unable to gently brush or wash it off. This is especially true if you camp in the Red Centre as the dust gets everywhere and attempting to scrub at the canvas to remove it can be more harmful than leaving it. Up in the far north-west, they call it ‘Pilbara Pink’. Carry it as a badge of honour (it’s better than one of those stickers on the back window).
Keep your canvas clean by regularly brushing both inside and out with a soft bristle brush and hose it occasionally with cold, clean water. Starting at the bottom of the walls and working upwards.
Never apply soaps or detergents. If your sink is close to the canvas wall, take extra precautions when dealing with soapy water, detergents and food. Dry it immediately with a cloth and wash over with clean water as it can damage the waterproofing.
Also keep substances such as cleaning fluids, insecticides, petrol, oil, vehicle exhaust, solvents, kerosene or similar materials well away. Even the use of aerosols such as hair spray, deodorant or insecticides in your canvas-enclosed living area can be harmful to its life and usefulness.
After each trip (maybe when packing up before heading home), check your canvas for damage, bird droppings, sap or other blemishes and ensure you fix them as soon as possible. Store tent poles and pegs in separate containers or bags away from the canvas.
This kind of maintenance will easily become second nature and can be done while you’re away. When you come back from fishing on that last day, give your canvas a brush over and a quick inspection. As you pack up, check for damage or blemishes.
Once a year, when you set time aside to check the wheel bearings or other periodic maintenance, take time to fold out the canvas and give it a quick once over and a clean.
RENEWING AND WATERPROOFING
Canvas works so well because of the waterproofing applied to the material. If your canvas is admitting water, you can renew its qualities with a waterproofing agent, such as Dynaproof Reproof or Joseph Liddy Dry Seal available from most camper manufacturers, tent retailers and similar outlets.
Apply it with a sponge or brush at home to rejuvenate the finish.
Check out the full feature in issue #101 June 2016 of Camper Trailer Australia magazine.